Table of Contents
ToggleWalk into any farmhouse kitchen and you’ll notice one thing right away: the lighting over the island sets the tone for the entire space. It’s not just about seeing your cutting board clearly, it’s about blending rustic character with real-world function. Whether you’re chopping vegetables, helping kids with assignments, or hosting a wine-and-cheese night, the right island lighting does serious heavy lifting. This guide walks through everything from identifying authentic farmhouse styles to nailing the install without calling a pro (or accidentally violating code). Let’s get into it.
Key Takeaways
- Farmhouse kitchen island lighting combines honest materials like wrought iron, aged metal, and clear glass with statement-scale fixtures that anchor your space without overwhelming it.
- Proper sizing and placement are critical: hang fixtures 30–36 inches above the counter, and use one pendant per 24–30 inches of island length to avoid expensive lighting looking cheap.
- Before installation, verify your ceiling box can support the fixture’s weight (at least 50 pounds for authentic farmhouse pieces), and upgrade to a fan-rated brace box if your current box is undersized.
- Modern farmhouse kitchen island lighting trends favor cleaner lines and matte finishes like matte black or brushed nickel that work seamlessly with contemporary appliances while maintaining rustic character.
- LED Edison-style filament bulbs deliver the vintage farmhouse aesthetic at 6–8 watts with 15,000+ hour lifespan, making them a practical alternative to traditional incandescent bulbs.
- Check local building codes before installation; while replacing fixtures on existing boxes usually doesn’t require permits, adding new boxes or circuits does, and hiring a licensed electrician for ceiling wiring eliminates guesswork.
What Makes Farmhouse Kitchen Island Lighting Unique?
Farmhouse lighting isn’t just a look, it’s a philosophy. Think function-first design with honest materials: wrought iron, aged metal finishes, wood accents, and clear or seeded glass. No plastic, no chrome, no fuss.
The hallmark of farmhouse fixtures is simplicity paired with scale. These aren’t dainty pendant lights meant to disappear. They’re statement pieces that anchor the kitchen without overwhelming it. You’ll see exposed Edison bulbs, hand-forged metalwork, and finishes that look like they’ve been hanging in a barn for decades, even if you bought them last week.
Modern farmhouse kitchen island lighting adds a twist: cleaner lines, matte black or brushed nickel instead of distressed bronze, and fixtures that play nicely with stainless appliances and quartz counters. It’s the sweet spot between rustic and refined, where a cage pendant doesn’t clash with your smart fridge.
Authentic farmhouse fixtures also tend to be larger and heavier than contemporary options. That means you’re dealing with ceiling boxes rated for at least 50 pounds and potentially upgrading your electrical rough-in. If your island’s centered under a single junction box meant for a lightweight fixture, you may need to add new boxes or install a ceiling brace. More on that in the install section.
Popular Farmhouse Island Lighting Styles for 2026
Industrial Farmhouse Pendants
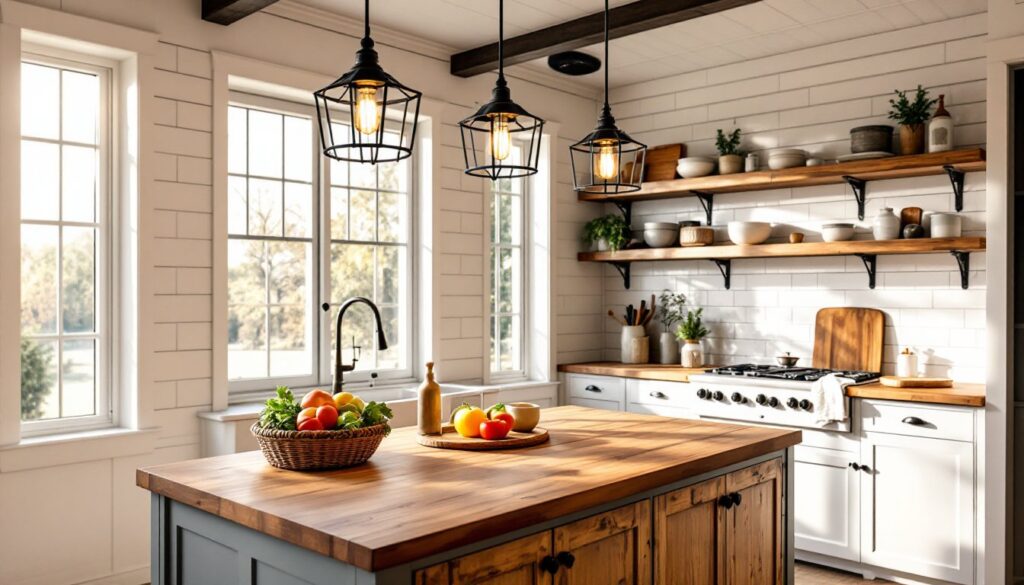
Industrial pendants bring the factory floor into the homestead. Picture metal cage shades, wire basket designs, and warehouse-style dome pendants in matte black, galvanized steel, or oil-rubbed bronze. These fixtures pair beautifully with open shelving, subway tile, and butcher-block counters.
Key features include:
- Open cage construction that lets light spill in all directions
- Adjustable drop rods or chain links for custom height (critical for islands with varying ceiling heights)
- Compatibility with vintage filament bulbs (Edison-style LED bulbs deliver the look without the 60-watt energy bill)
These fixtures often weigh 3–8 pounds each, which is manageable for standard electrical boxes. But if you’re hanging three large cages, verify your boxes are rated for the combined load. Most modern ceiling lights designed for kitchens come pre-rated, but older homes may need upgrades.
One practical note: wire cages collect dust like nobody’s business. Budget time every few months to wipe them down, or you’ll be serving dinner under a layer of grime.
Rustic Chandeliers and Lanterns
For a softer, more traditional farmhouse vibe, chandeliers and lantern pendants deliver warmth and drama. Think wagon wheel chandeliers, wooden bead accents, and lantern-style fixtures with clear or frosted glass panels.
These styles work especially well over larger islands (60+ inches) where a single row of small pendants would look undersized. A three-arm chandelier or oversized lantern (20–30 inches wide) fills the visual space without needing multiple hanging points.
Material choices matter here. Solid wood chandeliers add rustic heft but require ceiling boxes rated for 50+ pounds and possibly a ceiling brace installed between joists. Metal lanterns with glass panels are lighter (10–20 pounds) but still need proper support. According to design experts at Country Living, farmhouse lighting should balance scale with the overall kitchen footprint, oversized fixtures work in spaces with 9-foot ceilings or higher, while lower ceilings call for more compact profiles.
Lantern pendants often use candelabra-base bulbs (E12 sockets), which limits your LED options compared to standard medium-base (E26) fixtures. Check bulb compatibility before buying, especially if you want dimmable LEDs.
How to Choose the Right Size and Placement
Getting the size wrong is the fastest way to make expensive lighting look cheap. Here’s the math that actually works.
Width: For pendant clusters, each fixture should be 8–12 inches wide for a standard 36-inch-wide island. If your island is 48 inches or wider, you can go up to 15–18 inches per pendant. For a single chandelier or lantern over the island, aim for one-half to two-thirds the width of the island, so a 60-inch island gets a 30–40-inch fixture.
Height above counter: Hang fixtures 30–36 inches above the island surface. Any lower and you’re bonking heads: any higher and the task lighting suffers. If you’ve got a 10-foot ceiling, use adjustable rods or chain to dial in the right drop. Most fixtures ship with 6–12 feet of cord or chain, which is plenty.
Spacing between pendants: For multiple fixtures, space them 24–30 inches apart, centered over the island’s length. Three pendants over a 72-inch island? Space them evenly with about 24 inches between centers and roughly 12 inches from each end.
Number of fixtures: A general rule is one pendant per 24–30 inches of island length. A 60-inch island typically gets two or three pendants. An 84-inch island can handle three or four. If you’re using a single chandelier, it replaces the entire cluster.
Electrical capacity: Each pendant usually draws 40–100 watts (or the LED equivalent, around 6–15 watts). Make sure your circuit can handle the load, especially if the kitchen lighting shares a circuit with other devices. Most kitchen lighting runs on a dedicated 15-amp or 20-amp circuit, which is plenty for LED fixtures but can get tight if you’re running old incandescent bulbs.
One more thing: if your island isn’t centered under existing electrical boxes, you’ll need to plan for new wiring. This often means opening the ceiling above (if there’s an attic or crawl space) or running conduit if the ceiling is finished on both sides. In that case, hire a licensed electrician or pull a permit if you’re doing it yourself, NEC code requires permits for new circuit work in most jurisdictions.
Installation Tips for DIY Homeowners
Installing farmhouse island lighting isn’t rocket science, but it does require attention to detail, and respect for electrical safety. Here’s the step-by-step.
Tools and materials you’ll need:
- Voltage tester (non-contact)
- Wire strippers
- Screwdrivers (flathead and Phillips)
- Adjustable wrench
- Ladder or step stool rated for your weight
- Wire nuts (usually included with the fixture)
- Electrical tape
- Ceiling box brace (if upgrading an undersized box)
Safety first: Turn off power at the breaker, not just the wall switch. Use a non-contact voltage tester to confirm the wires are dead before touching anything. Wear safety glasses, ceiling work means dust and debris in your face.
Step 1: Verify ceiling box support. Remove the old fixture and inspect the electrical box. It should be screwed into a joist or supported by a metal brace bar spanning two joists. If it’s just nailed to drywall or held by a plastic “old work” box, upgrade to a fan-rated pancake box or ceiling brace box rated for at least 50 pounds. For heavy chandeliers, consider a metal fan box with brace, available at any home center for around $15–25.
Step 2: Assemble the fixture (mostly). Farmhouse pendants often ship in pieces, shade, canopy, bulb sockets, and hanging hardware. Assemble everything except the final canopy attachment so you’re not juggling parts on a ladder. Thread the cord or chain through the canopy before connecting wires.
Step 3: Wire connections. Match wire colors: black (hot) to black, white (neutral) to white, bare copper or green (ground) to the ground screw on the box or the bare ground wire. Twist wires together clockwise, cap with a wire nut, and wrap with electrical tape for extra security. Tuck wires neatly into the box, don’t force the canopy over a bulging wire mass.
Step 4: Secure the canopy. Most farmhouse fixtures use a center stud and lock nut or a crossbar with mounting screws. Tighten firmly, but don’t overtighten and crack the canopy (especially on fixtures with a painted or powder-coated finish).
Step 5: Install bulbs and test. Screw in the bulbs (check wattage limits on the socket, usually 60W max for incandescent, no limit for LED equivalents). Flip the breaker back on and test. If the light doesn’t work, turn the breaker off and check your wire connections.
Multiple pendants: If you’re installing two or more fixtures from separate boxes, they’ll typically share a circuit but each needs its own junction box. You may need to daisy-chain wiring from box to box inside the ceiling. This is straightforward if you have attic access, but if not, consider hiring an electrician. Running new wire through finished ceilings without tearing up drywall is a pro-level skill.
Permits and inspection: In most areas, replacing a fixture on an existing box doesn’t require a permit. But adding new boxes or circuits does. Check your local code or ask at the building department. If you’re in doubt, a quick call saves headaches later.
For broader guidance on kitchen interior lighting strategies, including task and ambient layers, check out resources from The Kitchn, which offers practical design tips for small and large kitchen spaces alike.
Pro tip: If your farmhouse pendants use exposed bulbs, consider dimmable LED filament bulbs that mimic the look of vintage incandescent Edison bulbs. They use about 6–8 watts, last 15,000+ hours, and work with most standard dimmer switches (though you may need to upgrade to an LED-compatible dimmer to avoid flickering). And speaking of lighting maintenance, clean metal and glass fixtures every 3–4 months with a microfiber cloth and a mild cleaner, kitchen grease loves to settle on overhead lighting.
Conclusion
Farmhouse kitchen island lighting hits the sweet spot between character and function. Whether you go industrial-chic with cage pendants or old-school rustic with a wagon wheel chandelier, the key is getting the size, placement, and install right. Measure twice, wire carefully, and don’t skip the ceiling box upgrade if your fixture’s on the heavy side. Done right, it’s a weekend project that transforms the heart of your home.


