Table of Contents
ToggleAdjustable recessed lighting has become the go-to solution for homeowners who want precision control over where light falls in a room. Unlike fixed downlights that permanently illuminate one spot, adjustable (or gimbal) recessed fixtures let you pivot and tilt the light source to highlight artwork, architectural details, or task areas. They’re particularly useful in spaces where flexibility matters, think living rooms where furniture gets rearranged, kitchens with multiple work zones, or hallways where you want to graze a textured wall instead of blasting the floor with light. This guide walks through everything you need to know about selecting, installing, and getting the most out of adjustable recessed lighting.
Key Takeaways
- Adjustable recessed lighting offers directional control through a gimbal mechanism that pivots and tilts up to 55 degrees, allowing you to redirect light exactly where it’s needed as your room layout changes.
- These fixtures improve energy efficiency by focusing light precisely on task areas rather than flooding an entire room, which can reduce overall fixture count and utility costs when paired with dimmable LED drivers.
- Adjustable recessed lighting comes in multiple types including integrated LED models, lamped fixtures with replaceable bulbs, and shallow-ceiling options for tight spaces, making them suitable for nearly any home configuration.
- Choose fixtures based on lumen output and beam angle for your specific use—700–1,000 lumens with narrow 25–35° spread for task lighting, or 500–700 lumens with wider 40–60° flood for ambient illumination.
- Adjustable recessed lights excel in kitchens for countertop task lighting, living rooms for accent and wall-washing effects, hallways for grazing techniques, and offices for focused work illumination without eye strain.
- Always verify dimmer compatibility, turn off power before installation, follow local electrical codes, and consider hiring a licensed electrician for circuits or fire-rated ceiling penetrations to ensure safety and compliance.
What Is Adjustable Recessed Lighting?
Adjustable recessed lighting refers to ceiling-mounted fixtures with a movable light engine or trim that can pivot, tilt, or rotate after installation. The housing (the canister that sits in the ceiling) remains fixed, but the visible trim and bulb assembly swivel on a gimbal mechanism, typically offering 30 to 55 degrees of tilt in any direction.
Most adjustable fixtures use either a baffle trim (which reduces glare) or an open trim (which maximizes light output). The bulb itself can be an integrated LED module, a replaceable LED retrofit unit, or a standard screw-base socket for PAR20, PAR30, or BR30 lamps. Integrated LED models are increasingly common because they ship with built-in heat sinks and drivers, making them slimmer and easier to fit into shallow ceiling cavities.
These fixtures contrast with fixed (or eyeball) recessed lights, which point straight down and can’t be adjusted once installed. Adjustable models give you the freedom to redirect light as your room evolves, no need to cut new holes or relocate cans.
Benefits of Choosing Adjustable Recessed Lights for Your Home
The primary advantage is directional control. You can aim light exactly where it’s needed, onto a countertop, into a corner, or along a wall to create visual depth. This is especially valuable in rooms with high or vaulted ceilings, where a fixed downlight would miss the mark.
Energy efficiency improves when you can focus light precisely. Instead of flooding an entire room with uniform brightness (and wasting lumens on areas that don’t need them), you can dial in targeted illumination and use fewer fixtures overall. Paired with dimmable LED drivers, adjustable recessed lights let you fine-tune ambiance and save on utility bills.
Design flexibility is another win. As you rearrange furniture, swap out artwork, or repaint walls, the light moves with your design. Many adjustable trims come in multiple finishes, white, black, brushed nickel, bronze, so you can match or contrast with existing hardware.
Finally, adjustable fixtures simplify retrofits. If you’re installing lights in an existing ceiling with joists, wiring, or ductwork that limit placement, you can mount the can slightly off-center and tilt the beam to where you actually want it. That beats cutting a second hole or settling for poor lighting.
Types of Adjustable Recessed Lighting Fixtures
New Construction vs. Remodel Housings
New construction housings (IC or non-IC rated) attach directly to ceiling joists with adjustable brackets before drywall goes up. They’re the cleanest installation method if you’re building an addition or gutting a room. Remodel (or retrofit) housings use spring clips or twist-lock tabs to grip finished drywall from below, making them ideal for existing ceilings. Both types are available in adjustable versions: just match the housing to your ceiling structure.
Integrated LED vs. Lamped Fixtures
Integrated LED fixtures ship with a permanent LED array and driver. They’re ultra-efficient (often 10–15 watts delivering 700–1,000 lumens), run cool, and last 25,000–50,000 hours. The downside: when the LED finally dims or fails, you replace the entire module or fixture.
Lamped (or socket-type) adjustable cans accept standard screw-base bulbs, PAR20, PAR30, or BR30. This gives you bulb flexibility (you can swap color temperatures or upgrade to newer LEDs), but the fixture profile is often deeper, and heat buildup can shorten bulb life if you skimp on ventilation.
Shallow-Ceiling and Airtight Models
If you’re working with limited plenum space (less than 6 inches above the drywall), look for low-profile or “canless” LED adjustable fixtures. These ultra-slim units sit almost flush with the ceiling and connect via a junction box. Airtight (AT-rated) models include gaskets that seal the housing to the drywall, preventing conditioned air from leaking into the attic, critical in energy-efficient homes or when local code requires blower-door testing.
How to Choose the Right Adjustable Recessed Lighting
Start by measuring your ceiling depth. Standard 6-inch IC-rated housings need about 7.5 inches of clearance above the finished ceiling. If you have less, opt for a shallow remodel can or a canless retrofit kit.
Next, decide on trim size. Common diameters are 4 inches, 5 inches, and 6 inches. Four-inch trims work well in hallways, closets, and tight spaces: six-inch fixtures deliver more light and suit living rooms or kitchens. Make sure the trim diameter matches the housing, mixing sizes voids most warranties and looks amateurish.
Lumen output and beam angle matter more than wattage. For task lighting (kitchen counters, reading nooks), aim for 700–1,000 lumens per fixture with a narrow 25–35° beam spread. For general ambient lighting, 500–700 lumens with a wider 40–60° flood works better. Adjustable models let you overlap beams or focus them as needed, so plan your layout with a spacing-to-mounting-height ratio of about 1:1 (if your ceiling is 8 feet high, space fixtures roughly 8 feet apart, then fine-tune by tilting).
Check color temperature too. 2700K (warm white) suits living spaces: 3000K (soft white) is a versatile middle ground: 3500K–4000K (neutral to cool white) fits workshops or laundry rooms. Many integrated LED adjustables now offer selectable or tunable white, letting you switch between 2700K, 3000K, and 3500K via a trim-mounted switch before installation.
Finally, verify dimmer compatibility. Not all LED drivers play nice with standard TRIAC dimmers. Look for fixtures labeled “0–10V dimmable,” “ELV compatible,” or “works with leading-edge dimmers,” and pair them with a quality dimmer from Lutron, Leviton, or an equivalent brand. Cheap dimmers cause flicker, buzz, and early driver failure.
Installation Tips for Adjustable Recessed Lighting
Safety first: Turn off power at the breaker and verify with a non-contact voltage tester before touching any wiring. Wear safety glasses when cutting drywall or drilling into joists, falling debris is guaranteed.
For new construction, secure the housing to joists using the built-in bracket arms. Make sure the bottom of the can sits flush with the plane of the future drywall (most housings have adjustable depth bars). Run 14/2 or 12/2 NM-B cable (depending on circuit amperage) to each fixture, leaving about 18 inches of slack inside the housing for connections. If you’re installing multiple fixtures on one circuit, use a daisy-chain wiring method: feed power into the first can, then jump to the next with a short whip.
Remodel installations start with laying out the fixture locations. Use a stud finder to avoid joists, then trace the template that ships with the housing. Cut carefully with a drywall saw or hole saw, oversized holes leave gaps around the trim. Fish cable from an existing switch box or junction box to each cutout. Remodel cans typically have a snap-in junction box on the side: make connections there (black to black, white to white, bare copper to ground screw), then push the housing into the ceiling and engage the retention clips.
If you’re DIYing, a fish tape and flexible drill bit (or a long auger bit) make running cable through existing walls much easier. For installations that penetrate fire-rated ceilings or require new circuits, pull a permit and have a licensed electrician do the rough-in. Most jurisdictions require an electrical permit for new branch circuits, and inspectors will check box fill, wire gauge, and IC ratings.
Once the housing is in, attach the adjustable trim. Most gimbals clip or twist-lock into the housing and are held in place by torsion springs. Test the tilt range before finalizing, if the gimbal binds or won’t hold position, double-check that the trim is fully seated. Then restore power, install bulbs (or connect the LED module), and dial in your aim.
Best Rooms and Applications for Adjustable Recessed Lights
Kitchens are a natural fit. Aim adjustable fixtures at countertops, sinks, or the stove to eliminate shadows where you prep and cook. In galley kitchens, tilt lights toward the work surface rather than straight down, reducing glare on polished stone or stainless steel.
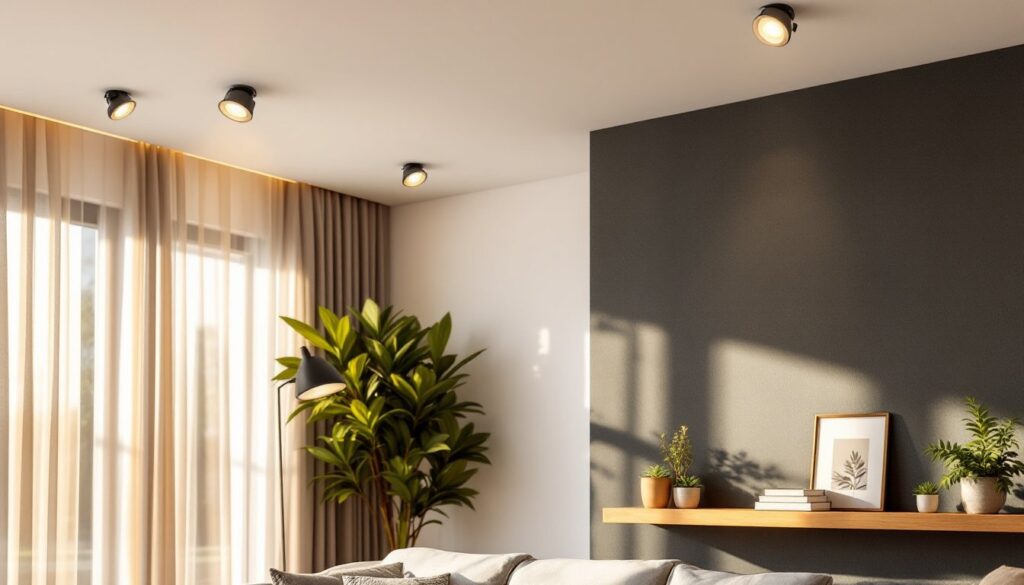
Living rooms and family rooms benefit from wall-washing and accent lighting. Tilt fixtures toward textured brick, stone, or wood paneling to highlight architectural features. Use them to spotlight bookshelves, mantels, or media centers without the clutter of track lighting. Homeowners often combine adjustable recessed lights with decorative pendants or chandeliers for layered illumination.
Hallways are often tight and dim. Instead of flooding the floor with fixed downlights, angle adjustable fixtures to graze one wall, creating visual interest and making the space feel wider. This technique works especially well in long, narrow corridors.
Home offices and reading nooks demand focused task lighting. Position adjustable cans over desks or chairs, then tilt them to direct light onto the work surface without shining into your eyes. Pair with a dimmer for video calls or late-night reading.
Art galleries and display walls are classic uses. The recessed lighting housing must be positioned carefully so the gimbal can aim light at the center of each piece without spilling onto adjacent walls. For valuable art, use fixtures with UV-filtering lenses or low-heat LEDs to prevent fading.
Bathrooms (especially large master baths) benefit from adjustable fixtures over vanities or tubs. Tilt the light to reduce shadows on faces during grooming, or angle it toward the tub for a spa-like effect. Make sure any fixture near a shower or tub is rated for damp or wet locations per NEC Article 410.
Conclusion
Adjustable recessed lighting delivers the precision and flexibility that fixed downlights can’t match. Whether you’re retrofitting an older home or planning new construction, these fixtures let you direct light exactly where it’s needed, and change your mind later without tearing into the ceiling. Choose the right housing type, match lumen output to the task, and don’t skip safety or code requirements. With a little planning and careful installation, you’ll have a lighting system that adapts as your home evolves.


